
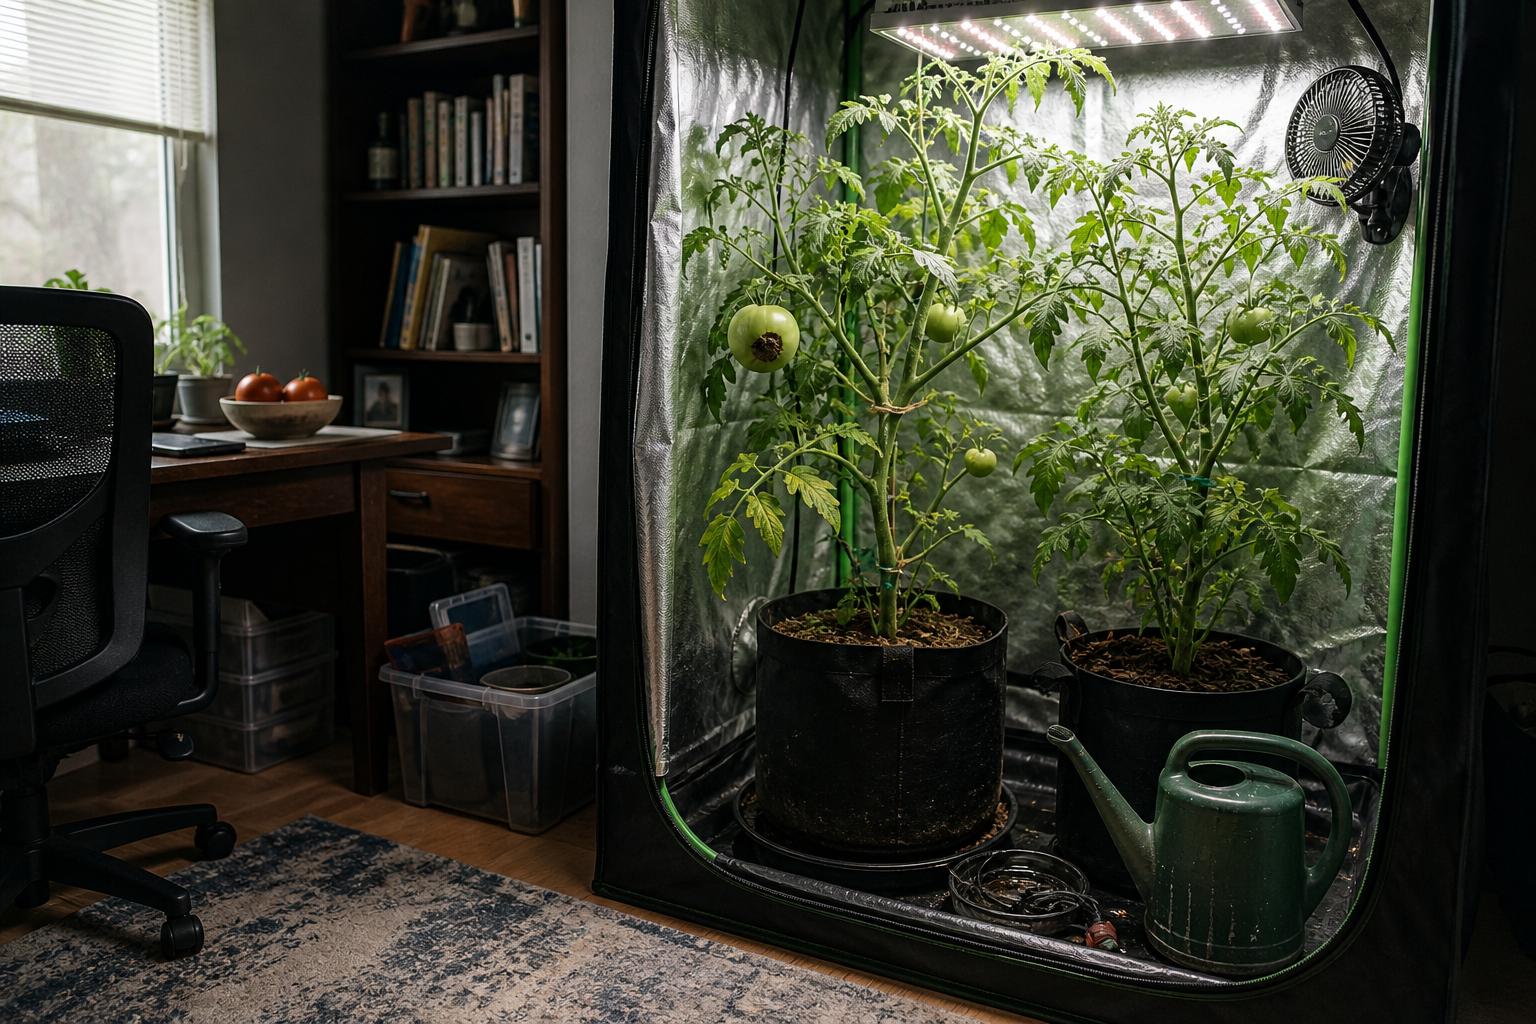
Blossom end rot is one of the most frustrating tomato problems inside a grow tent. The plant may look healthy, the flowers set normally, and the fruit begins swelling. Then a pale patch appears on the bottom of a tomato and gradually turns brown, sunken, and leathery.
The usual reaction is to add calcium. I did the same thing when I first dealt with blossom end rot in a grow tent. Sometimes the next tomatoes looked better, which made the calcium treatment seem successful. What I eventually realized was that my watering also became more careful at the same time.
Blossom end rot is usually a calcium delivery problem, not proof that your growing medium contains no calcium.
What Blossom End Rot Looks Like Inside a Grow Tent
The damage usually starts at the blossom end, opposite the stem. It may begin as a light green or tan spot before becoming dark, flattened, and firm. On elongated tomato varieties, the affected area can spread surprisingly far up the fruit.
Inside a grow tent, I often notice the first damage shortly after a plant begins carrying several rapidly expanding tomatoes. This is when water demand rises and a container that seemed adequate during vegetative growth can start drying much faster.
Do not confuse blossom end rot with a soft, wet infection that spreads randomly across the fruit. Blossom end rot usually has a clear relationship to the blossom end and develops as the fruit grows.
Damaged tissue will not recover. Remove badly affected tomatoes so the plant can direct its limited water and energy toward healthy fruit. Then focus on protecting the next group of developing tomatoes.
Why Available Calcium May Not Reach the Fruit
Tomato roots absorb calcium along with water. Once inside the plant, calcium does not move around easily to wherever it is needed. Developing fruit must receive a steady supply while its cells are forming.
If the root zone becomes too dry, too wet, too salty, or suddenly hot, that delivery can be interrupted. The plant may have plenty of calcium in the growing medium while the tomato fruit still develops damaged tissue.
Grow tents can make these interruptions happen quickly. A stronger exhaust setting, a warmer light period, or a fan aimed directly at the plant can increase water use within hours. Turning lights off lowers water demand again. Small containers exaggerate every change.
I have noticed that tomatoes near an intake opening often dry faster than plants at the back of the same grow tent. The difference may not be obvious from the leaves, but lifting the containers reveals it immediately.
The critical issue is consistency at the roots.
Why adding more calcium can make things worse
One mistake I see often is repeated dosing with calcium supplements before checking moisture. Excess fertilizer raises the concentration of dissolved salts around the roots. That can make water uptake harder, especially in a small grow tent container.
Foliar calcium sprays are not my preferred solution either. Tomato fruit receives little benefit because calcium does not move readily from sprayed leaves into developing fruit. Spraying also adds moisture inside the grow tent and can leave residue on lights, fans, and foliage.
If you use a complete tomato fertilizer and your water is not unusually deficient, do not assume another bottle is the answer.
A Grow Tent Checklist for Finding Moisture Stress
Before changing nutrients, inspect the physical conditions around the roots. I use this sequence because it identifies the common causes without adding cost or creating a second problem.
- Lift the container before watering. A very light pot means the root zone has already dried considerably. Compare its weight shortly after a thorough watering.
- Check below the surface. The top layer can look dry while the lower root zone remains soaked. Push a finger into the medium or use a plain wooden skewer to inspect deeper moisture.
- Watch how quickly water exits. Water rushing down the container wall may leave a dry center. Apply it slowly in two or three passes so the root ball absorbs moisture evenly.
- Inspect the drainage openings. Thick roots emerging from every opening suggest the plant has little usable room left.
- Compare plants by location. Containers beside an intake, circulation fan, or tent wall may dry at different rates.
Also look for recent changes inside the grow tent:
- A light moved closer to the canopy
- A new exhaust fan setting
- Higher room temperature
- Heavy pruning that changed water use
- A sudden increase in fruit load
- Long gaps followed by heavy watering
- Fertilizer mixed stronger than usual
Root restriction deserves special attention. A tomato can survive in a compact container, but survival and steady fruit development are not the same thing. In my experience, very small pots create a constant watering chore and leave little margin for a busy day.
I prefer a slightly larger container over an automated rescue system. It uses more floor space and growing medium, but it is quieter, simpler, and less likely to leak in an apartment. For many compact tomato varieties, a five gallon container is a practical starting point. Large, vigorous varieties may need more root volume or more frequent irrigation.
The Watering and Root Zone Routine I Prefer
My goal is not to keep the medium permanently saturated. I want it evenly moist, with enough air remaining around the roots.
Here is the routine that has worked better for me inside grow tents:
- Water slowly across the full surface instead of pouring everything beside the stem.
- Allow a small amount of drainage when the growing medium and fertilizer program call for it.
- Empty collection trays so containers do not sit in stagnant water.
- Lift each pot daily while tomatoes are enlarging.
- Water based on root zone moisture, not a rigid calendar.
For apartment growing, I place containers in sturdy trays and use a small transfer pump or wet vacuum to remove drainage. This adds a little maintenance, but it is safer than carrying overflowing trays through a living room.
If the medium is drying completely every day, watering more often may help temporarily. Still, I would rather transplant into a larger container when space allows. Frequent watering can work, but it gives you less freedom to leave the grow tent unattended.
Check that the root zone is not overheating as well. Containers sitting directly under intense light or pressed against warm equipment can become hotter than the surrounding air. Leaving a little space between containers improves access and helps the grow tent environment affect them more evenly.
What I Would Change First
Do not chase the damaged tomato with extra supplements. Look at the next fruit instead.
My first step would be to lift the container before and after watering for several days. If its weight swings from heavy to extremely light, correct that moisture cycle with slower watering, a larger container, or more frequent checks. Keep the fertilizer steady while you do this.
Once new tomatoes develop without the dark patch, you have useful evidence that calcium delivery has stabilized. That is a much better result than continuing to add products without knowing what the roots actually needed.


