
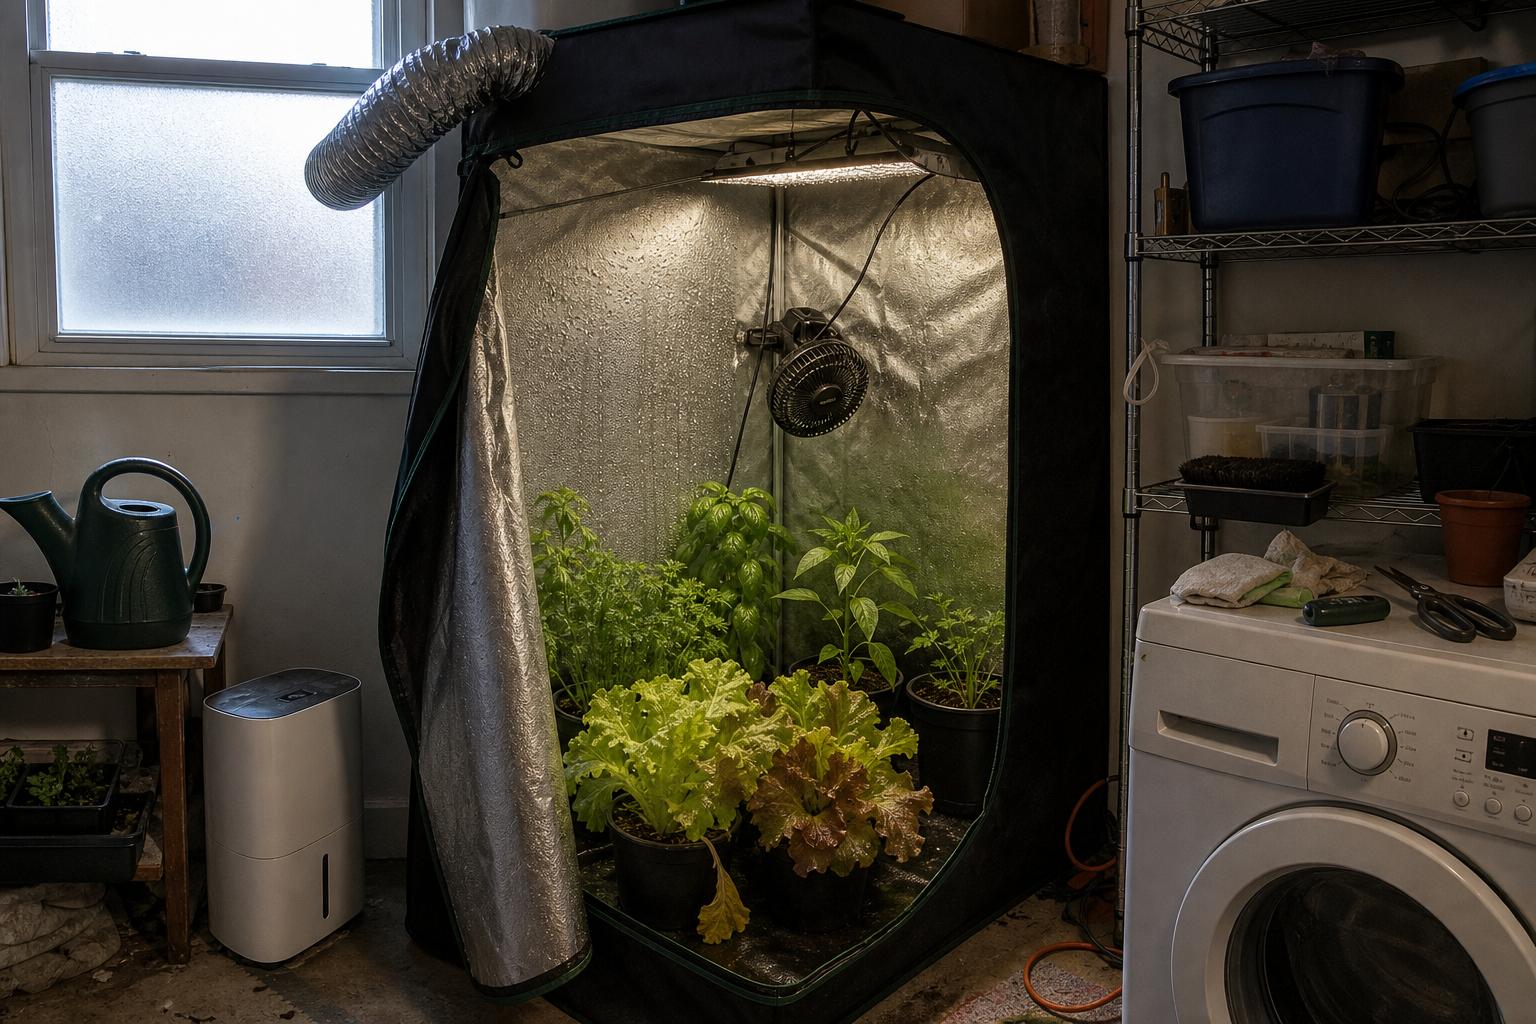
Condensation inside a grow tent is more than an annoying layer of water on the walls. It is evidence that moist air has reached a surface cold enough for that moisture to turn into droplets. The location and timing of those droplets can tell you where the real problem is.
I have seen grow tents remain dry during the entire light period, then become wet within an hour of the lights turning off. I have also seen one wall collect water while every other surface stayed dry. Those two situations may look similar, but they need different fixes.
Do not chase a perfect humidity number first. Start by noticing where condensation appears, when it begins, and whether the grow tent is actually exchanging air with the surrounding room.
What Condensation Is Telling You About the Grow Tent
Warm air can hold more moisture than cool air. When the lights switch off, the air and tent surfaces begin cooling. If the grow tent contains plenty of moisture from wet growing medium, open reservoirs, or plant transpiration, some of that moisture settles onto the coldest available surface.
This is why a humidity reading that seemed acceptable with the lights on can climb quickly after they turn off. The plants are still releasing some moisture, the growing medium is still evaporating water, but the grow tent no longer has the same heat helping the air carry it.
Visible droplets mean the air has crossed a limit. The exact humidity reading matters less at that moment than the fact that water is now collecting where it can encourage mold, leaf disease, corrosion, and persistent dampness.
Leafy greens can release surprising amounts of moisture when a grow tent is densely packed. Basil, lettuce, kale, tomatoes, and peppers also create sheltered pockets of damp air when their leaves overlap. A sensor hanging near the exhaust may not detect what is happening between those leaves or against a cold tent wall.
Where the Moisture Collects Matters
Water on the grow tent walls
If most of the inner lining is wet, the grow tent is probably holding too much moisture overall or exchanging air too slowly. Check whether the exhaust fan is running through the dark period and whether its filter or ducting is restricting airflow.
If only one wall becomes wet, feel the outside of that wall. It may face a cold window, exterior wall, concrete floor, or air conditioning vent. In a small apartment, I have noticed that moving a grow tent just a few inches away from a cold wall can make a visible difference.
A cold wall can create condensation even when the rest of the tent seems reasonable.
Droplets on the ceiling or around duct openings
Warm moist air rises, so the ceiling often shows the first signs of weak exhaust. Moisture around a duct can also mean cold air is traveling through that duct and chilling the nearby fabric.
Inspect the duct for sharp bends, crushed sections, and excessive length. Every bend makes the exhaust fan work harder. I prefer a short, simple duct route over buying a larger fan to overcome a poor layout. It costs less, uses less electricity, and usually makes less noise.
Puddles on the floor or under trays
Not every wet grow tent has a condensation problem. Water under pots may be runoff, a leaking irrigation fitting, or moisture trapped beneath a tray.
Lift every tray and pot rather than assuming the water dripped from above. Fabric pots placed directly on a waterproof floor can keep the area beneath them damp for a long time. Pot risers or simple spacers allow air to move underneath and make leaks easier to spot.
Water on leaves
Droplets on lettuce, basil, or tomato leaves can come from condensation when leaf surfaces cool during the dark period. This is especially common where foliage is pressed against a grow tent wall or packed tightly beneath the light.
Check the interior of the canopy with your hand. If it feels still and clammy, reposition the circulation fan so air passes gently through the plants rather than blasting only across their tops. Moving leaves slightly is enough. Constant hard wind can dry leaf edges without fixing the damp pockets deeper inside.
The Mistakes That Keep Condensation Coming Back
One mistake I made early on was turning the exhaust fan off with the grow light. It seemed sensible because the tent was cooler and I wanted less fan noise at night. Instead, moisture rose as the temperature fell, and the walls became wet.
For most home growers, continuous low speed exhaust is more practical than alternating between silence and a loud burst of ventilation. It keeps conditions steadier, draws less attention in a small home, and avoids repeated moisture spikes.
Other common problems include:
- Using only a circulation fan. It moves damp air around but does not remove it from the grow tent.
- Watering late in the light period. A freshly soaked growing medium releases moisture just as the tent begins cooling.
- Leaving runoff in saucers. That exposed water continues evaporating inside the grow tent.
- Exhausting into a closed room. The grow tent pulls the same humid air back through its intake openings.
- Adding a dehumidifier inside the tent. It occupies growing space and releases heat while treating the symptom.
I usually prefer placing a dehumidifier in the room that supplies the grow tent, if one is needed at all. The tent can then pull in drier air without sacrificing floor space around herbs and vegetables. The tradeoff is extra heat and electricity, so I treat a dehumidifier as a later step, not the first response.
A Practical Order for Drying the Grow Tent
If water is near lights, power strips, plugs, or electrical connections, switch off power safely before wiping it up. Once the immediate water is removed, work through the causes in this order.
- Remove standing water. Empty saucers, wipe the floor, and check reservoirs, hoses, trays, and fittings for leaks.
- Run the exhaust continuously. Start at a quiet low setting and confirm that the grow tent walls pull inward slightly.
- Open a clear intake path. Make sure an intake vent is not blocked by storage, a wall, or loose fabric.
- Straighten the exhaust duct. Shorten it where practical and remove tight bends that reduce air exchange.
- Improve air movement around plants. Separate crowded pots and keep leaves from touching the tent walls.
- Adjust watering timing. Water near the beginning of the light period so excess surface moisture can leave while the grow tent is warmer.
- Check the surrounding room. If that room feels damp, ventilate or dehumidify it so the tent receives drier replacement air.
After each change, watch the next light transition. Condensation that appears only after the lights turn off should improve when exhaust continues and temperature changes become less abrupt. Condensation that remains limited to one surface points more strongly toward a cold wall, floor, or duct.
Change one or two things, then observe. Replacing several pieces of equipment at once makes it difficult to learn which correction actually worked.
What I Would Check First Tonight
I would not begin by buying a stronger fan or trying to force the humidity display to one exact number. I would empty every runoff tray, confirm that the exhaust stays on after the light switches off, and look for a cold wall touching the grow tent.
Then I would return about an hour into the dark period with a flashlight. Check the ceiling, corners, leaf surfaces, floor, and duct opening. That simple inspection usually reveals whether the grow tent needs better moisture control, a clearer exhaust route, more space around the plants, or protection from a cold surface.
Your next step is to observe one full light transition. Where the first droplets appear will tell you what to correct before condensation becomes a nightly problem.


