
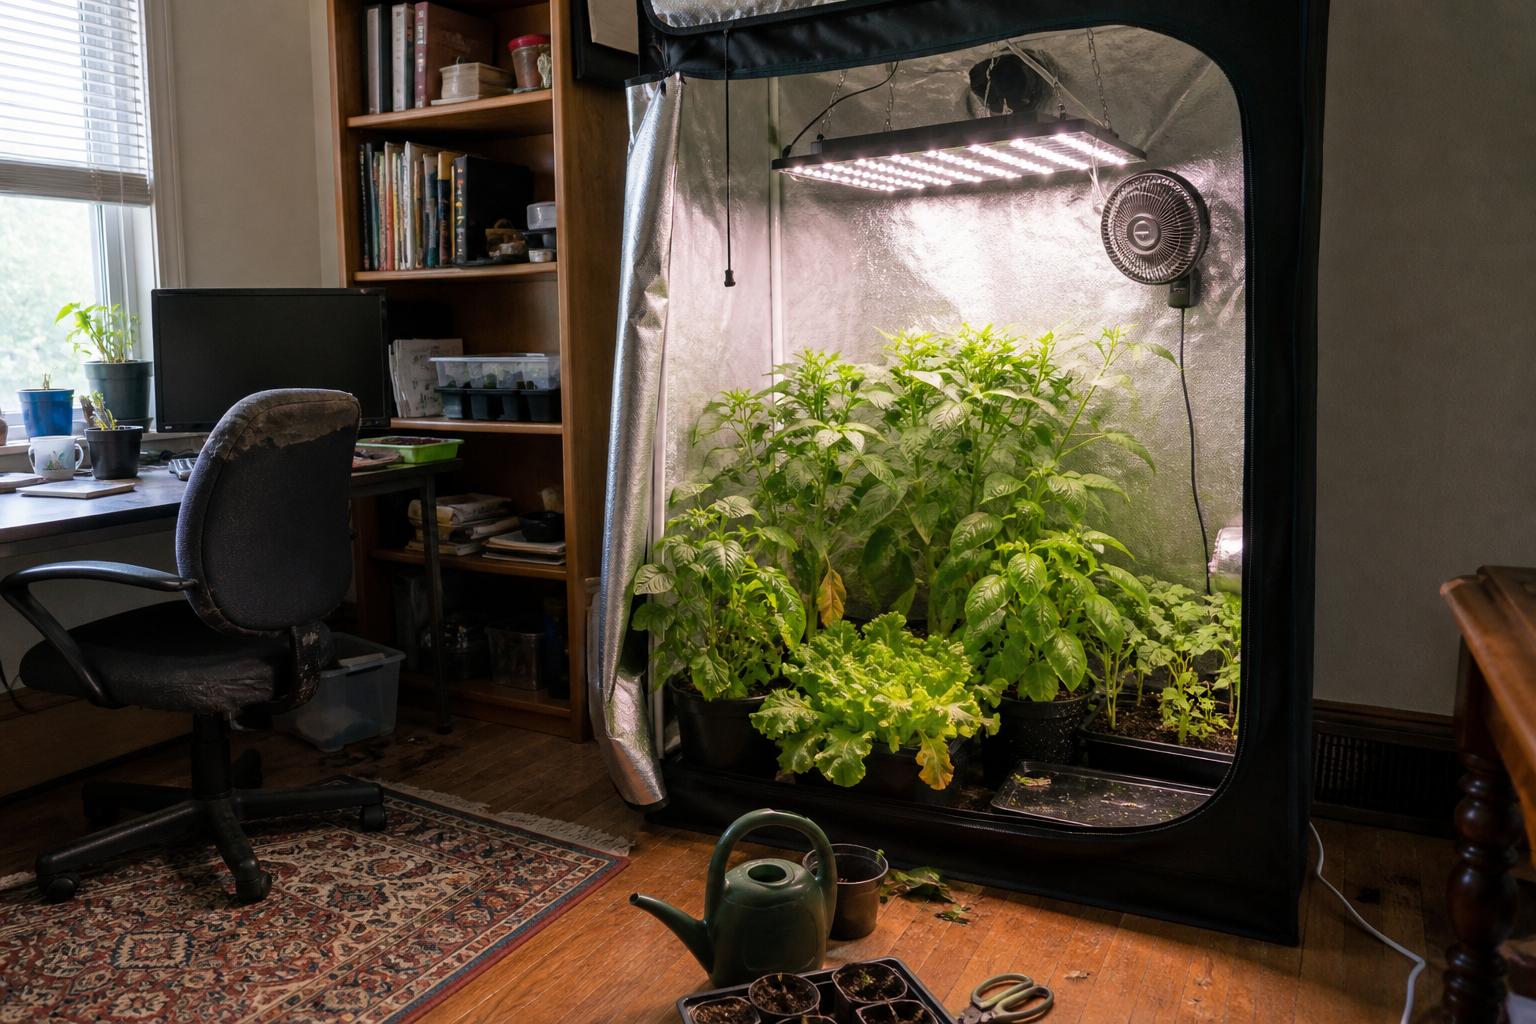
When plants near the top of a grow tent turn pale, curl upward, or stop growing normally, the grow light is an obvious suspect. The trouble is that excessive light can look surprisingly similar to heat stress, dry roots, strong airflow, and nutrient trouble.
I have made the mistake of reacting too quickly and raising a grow tent light when the growing medium was actually drying faster than expected. I have also done the opposite and kept feeding pale lettuce because I assumed it needed more nutrients. It was already receiving more light than it could use.
The location of the damage is usually your best clue. Before changing fertilizer, watering frequency, and fan settings, look closely at where the symptoms begin.
What Excessive Light Looks Like in a Grow Tent
Excessive LED light usually affects the highest and most exposed leaves first. Lower leaves may remain green and relaxed because the upper canopy absorbs much of the light before it reaches them.
Inside a grow tent, I look for a combination of these signs:
- Pale green, yellow, or nearly white areas on upper leaves
- Leaf edges curling upward toward the light
- Dry or brittle patches on the parts closest to the fixture
- Very compact new growth that seems reluctant to expand
- Leaves angled sharply away from the brightest part of the fixture
- One section of the canopy suffering directly under the center of the LED
Lettuce often becomes unusually pale before it develops obvious dry patches. Basil may produce small, curled leaves near the top. Young pepper and tomato plants can develop stiff upper growth while their lower leaves still look reasonably healthy.
Bleaching is different from ordinary yellowing. A bleached leaf looks washed out where the light is strongest. Nutrient related yellowing more often follows the age of the leaves or a recognizable pattern across the plant.
One observation that took me a while to trust was that LED light stress does not always make the grow tent feel hot. Modern fixtures can deliver intense light to the canopy while the air temperature still appears acceptable. That is why judging only by the temperature shown on the tent controller can be misleading.
Separate Light Stress From Heat and Watering Problems
Before moving the fixture, compare the upper leaves with the rest of the plant. A clear vertical pattern points toward the light. If plants at every height are wilting or curling, the problem is more likely connected to the wider grow tent environment.
Check for heat stress
Heat stress often causes broad curling, thin leaves, and wilting during the warmest part of the light cycle. Plants may look better after the LED turns off and the grow tent cools down.
Place the temperature sensor at canopy height rather than near the floor or tent wall. A sensor hanging below the leaves can report comfortable air while the upper canopy sits in a pocket of warm air.
I prefer using an inexpensive infrared thermometer when the cause is unclear. It lets me compare the temperature of an exposed upper leaf with a shaded lower leaf. The reading is not perfect, but it is much more useful than holding a hand under the fixture and guessing.
Check the growing medium
A powerful LED increases water use, especially in a small grow tent with constant air movement. Wilting from dry roots normally affects much more than the uppermost leaves. The container may also feel noticeably lighter.
Check moisture below the surface. The top layer can look dry while the root zone remains wet, particularly in larger containers. Watering again without checking can create a second problem.
If the leaves closest to a circulation fan have dry edges while leaves under the light remain healthy, direct airflow may be responsible. In compact grow tents, a fan can quietly blast the same few leaves all day.
Look for a nutrient pattern
Nutrient problems rarely respect the exact footprint of a grow light. They commonly begin on older leaves, new growth, or the whole plant depending on the nutrient involved and the condition of the root zone.
If several crops in different containers are pale only at the same canopy height, I investigate light intensity before adding fertilizer. Extra nutrients cannot repair light bleaching and may make root stress worse.
A Simple Process for Finding a Safer LED Height
The printed hanging recommendation supplied with an LED is a starting point, not a promise. Plant height, fixture power, dimmer setting, reflective tent walls, and hours of operation all affect how much light reaches the leaves.
For an ordinary home grower, I recommend measured adjustments rather than chasing an exact number from an online chart.
- Measure the current distance. Measure from the light emitting surface to the highest leaf, not to the container or tent floor.
- Record the dimmer setting. Take a photo if the dial has vague markings.
- Raise the fixture by 3 or 4 inches. This is usually enough to create a meaningful change without suddenly starving the plants of light.
- Keep the light schedule unchanged. Changing height, power, and operating time together makes the result difficult to interpret.
- Observe the plants for several days. Pay more attention to fresh growth than to leaves that are already damaged.
Turn the fixture off before adjusting hangers inside the grow tent. It is easier on your eyes, and you are less likely to bump a hot driver or drop the light onto the plants.
My preference is to raise the light first when ceiling space allows. Raising it usually improves coverage across trays of lettuce, herbs, and seedlings. The center becomes less intense while the edges receive more even light.
In a short grow tent, however, dimming is often the more practical choice. Reducing power by about 10 to 15 percent lowers intensity, electricity use, and heat released into the room without sacrificing valuable plant height. That is a worthwhile tradeoff in an apartment where the tent already sits close to the ceiling.
If plants are severely bleached or crisp, raise and dim the fixture immediately. Plant recovery matters more than preserving a controlled experiment.
What to Watch After Raising the Light
Damaged leaves may never return to their original color. Waiting for a bleached leaf to become green again can lead you to keep raising the fixture long after the stress has stopped.
Judge the change by new growth.
Over the next several days, look for expanding leaves with a healthier color, flatter edges, and a more relaxed angle. Lettuce centers should begin opening normally. Basil should produce broader new leaves. Pepper and tomato tips should continue growing without becoming pale and tightly bunched.
Also watch the growing medium. Plants under lower light may use water more slowly, so an old watering schedule can leave containers wet for too long. I have seen growers solve light stress and then create root trouble by continuing to water at the previous pace.
If new growth becomes long, thin, or strongly tilted toward the fixture, you may have reduced the light too much. Move back in a smaller step rather than returning immediately to the original setting.
The practical next step is simple: measure the distance above your tallest plant today, photograph the affected leaves, and raise the LED by 3 or 4 inches if the damage is concentrated at the top of the grow tent canopy. Leave everything else alone, then compare the new growth over the next few days. That controlled change will tell you far more than another dose of fertilizer or a guess based on how bright the tent looks.


