
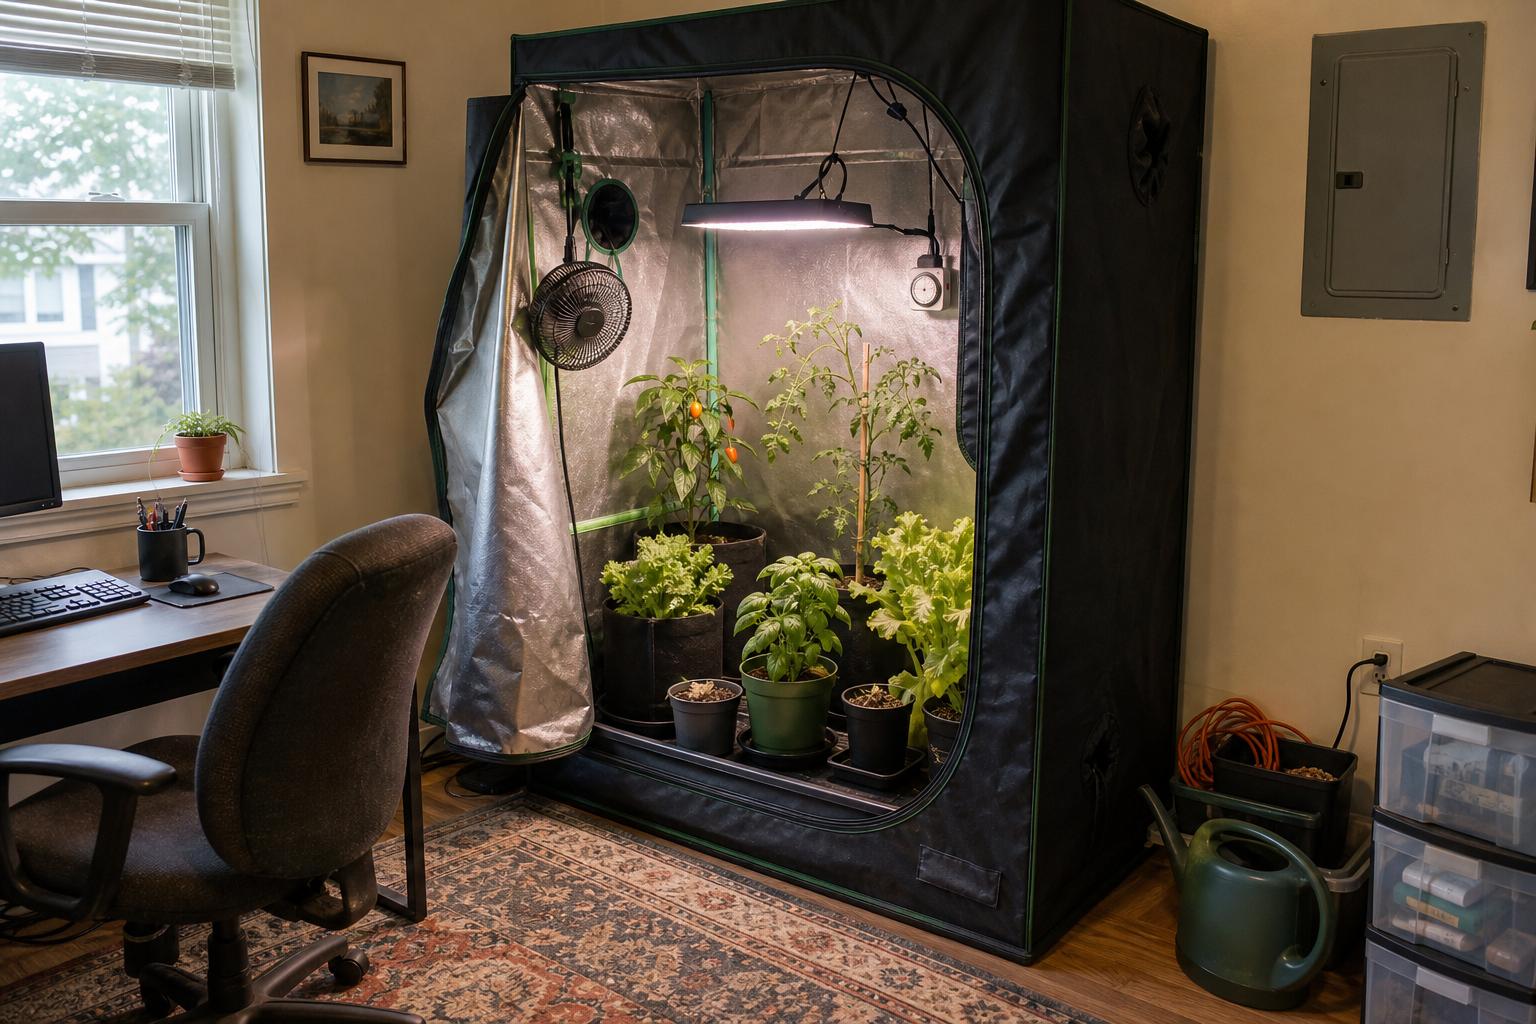
Shopping for a grow tent can get confusing quickly. Two tents may look nearly identical in photos, yet one costs considerably more. The expensive model promises thicker fabric, stronger poles, better reflection, and a collection of small upgrades. The obvious question is whether any of that will produce healthier basil, lettuce, peppers, or tomatoes.
After using different grow tents in small indoor spaces, I have found that price matters up to a point. Very cheap tents can create daily frustrations, but premium tents often include details that do little for an edible harvest. For most home growers, a reliable midrange grow tent is the sensible choice.
What a Higher Price Should Actually Improve
A grow tent does not grow plants by itself. It creates a contained space where your light, exhaust fan, circulation fan, and watering routine can work consistently. Paying more only makes sense when the tent helps those parts work better or makes the enclosure easier to live with.
The first meaningful improvement should be better structural strength. Wet containers, lights, fans, filters, and hanging hardware add more weight than many beginners expect. A tent should remain square when this equipment is installed, and the roof bars should not bow noticeably under a normal setup.
I have noticed that weak frames are especially annoying in taller grow tents containing tomatoes or peppers. When the frame shifts, hanging lights become harder to level. A circulation fan clipped to a thin pole can also make the whole side vibrate, which is not something you want to hear in an apartment living room.
The second useful improvement is a zipper that works smoothly. This sounds minor until you open the grow tent every day. Cheap zippers tend to catch on the inner flap, require two hands, or pull the fabric out of shape around corners.
One mistake I made early on was judging a tent mainly by fabric thickness. The material felt substantial, so I assumed the entire tent was well made. The zipper was awkward and the door opening was narrow. Those two details bothered me far more than the fabric ever helped me.
A good door is worth more than an impressive fabric number.
The Features That Matter in Daily Use
When comparing grow tents, I look at how the enclosure will function after trays, containers, ducting, cords, and plants fill the space. Product photos usually show an empty tent, which hides many access problems.
Useful door placement
A large front door is adequate for a shallow grow tent filled with leafy greens. In a deeper tent, side access becomes much more valuable. Reaching across mature pepper plants to inspect a rear container can break branches and make spilled water difficult to clean up.
If the grow tent will sit between furniture or against two walls, make sure you can actually use the advertised doors. An inaccessible side door has no practical value, no matter how premium it looks on the product page.
Ports in sensible locations
A useful grow tent needs upper duct ports for exhaust, lower openings for passive intake, and cord openings near the equipment they serve. More ports are not automatically better. Every unused opening adds fabric, seams, and another place that must be closed securely.
Before buying, picture where your exhaust fan and light driver will sit. Then check whether the ducting can follow a short, gentle path. Tight bends reduce airflow and can make a fan sound louder inside a small home.
A removable floor tray
I consider a waterproof floor tray essential for growing food inside a grow tent. Water eventually misses a saucer. A pot drains more than expected. A watering can tips while you are reaching behind a plant.
Look for a tray with raised sides that can be removed without dismantling the setup. Easy cleanup protects both the tent floor and the room beneath it. This matters even more on wood flooring or in an upstairs apartment.
Strong seams and tidy stitching
A few tiny light leaks around stitching usually do not affect lettuce, herbs, peppers, or tomatoes. However, messy seams can indicate rushed construction. Check owner photos for separating corners, loose threads around zippers, and sleeves that do not close firmly around ducting.
For daily use, I would prioritize these features:
- A stable metal frame with secure corner connectors
- Smooth zippers with an inner light blocking flap that stays out of the way
- A removable floor tray with raised edges
- Door placement that allows access to rear plants
- Duct and cord ports that match the planned equipment layout
- Roof bars rated comfortably above the equipment you intend to hang
Premium Details That Rarely Improve Your Harvest
Premium grow tents often emphasize reflectivity. A reflective interior is useful because it redirects some stray light toward the plant canopy. Still, the difference between two decent reflective linings is unlikely to rescue a weak light or a crowded layout.
Good light placement matters more than small differences in reflective material. I would rather spend extra money on an efficient dimmable light than on a luxury tent lining.
Viewing windows are another feature I rarely use. They seem convenient, but opening a covered window often takes as much effort as opening the door. A clear window can also let bright grow light into the room, which is unpleasant in a bedroom or shared living area.
Tool pockets are handy for plant ties and a small meter, but they should not influence a major buying decision. The same applies to elaborate branding, decorative trim, and claims about extreme fabric thickness.
Very thick fabric can improve durability, but it does not solve heat or humidity by itself. Environmental control still depends on ventilation, room conditions, plant density, and watering habits. An expensive grow tent cannot compensate for an undersized exhaust system.
It is also worth remembering that a tent provides little true sound insulation. If noise is a concern, spend money on a quieter fan, proper fan sizing, and vibration control rather than assuming a premium enclosure will silence the equipment.
How to Choose a Reliable Grow Tent for Your Budget
Start by deciding what you will grow. A short tent can work well for lettuce, parsley, cilantro, and compact herbs. Fruiting plants need more vertical room for containers, mature growth, light clearance, and ventilation equipment.
Then work through this order:
- Measure the room, including ceiling height and the space needed to open the grow tent door.
- Plan the containers, trays, light, fan, and ducting before choosing a tent size.
- Check the frame capacity and roof bar design.
- Study the door and port locations rather than counting how many are included.
- Read owner comments for repeated complaints about zippers, corner connectors, and floor trays.
- Keep part of the budget for environmental equipment and basic water protection.
Where do most growers go wrong? They buy the largest or most impressive tent they can afford, then squeeze the remaining budget for the light and exhaust fan. That order is backward. A modest grow tent with dependable equipment will usually maintain a better environment than a premium enclosure paired with a weak fan or undersized light.
There are situations where I would pay more. A grow tent that will be opened several times a day, hold heavy equipment, or operate continuously in a main living area benefits from better zippers, stronger framing, and cleaner fit. I would also pay more for an unusual size if it used limited floor space more effectively.
For an ordinary home setup, though, choose a well reviewed midrange grow tent with a sturdy frame, practical access, a removable tray, and ports that fit your layout. Put the money saved toward a quiet exhaust fan, an efficient light, and proper trays beneath your edible plants.
What I Would Check Before Buying
I would sketch the grow tent as it will actually be used, including plants and equipment. If I can reach every container, route the ducting without sharp bends, hang the equipment safely, and remove the floor tray for cleaning, the tent has passed the important tests.
Your next step is to ignore the premium label and inspect the layout. Choose the least expensive grow tent that offers reliable construction and easy daily access. That is usually where the best value sits, and it leaves more of your budget for the equipment that directly affects healthy vegetables, herbs, and leafy greens.


