
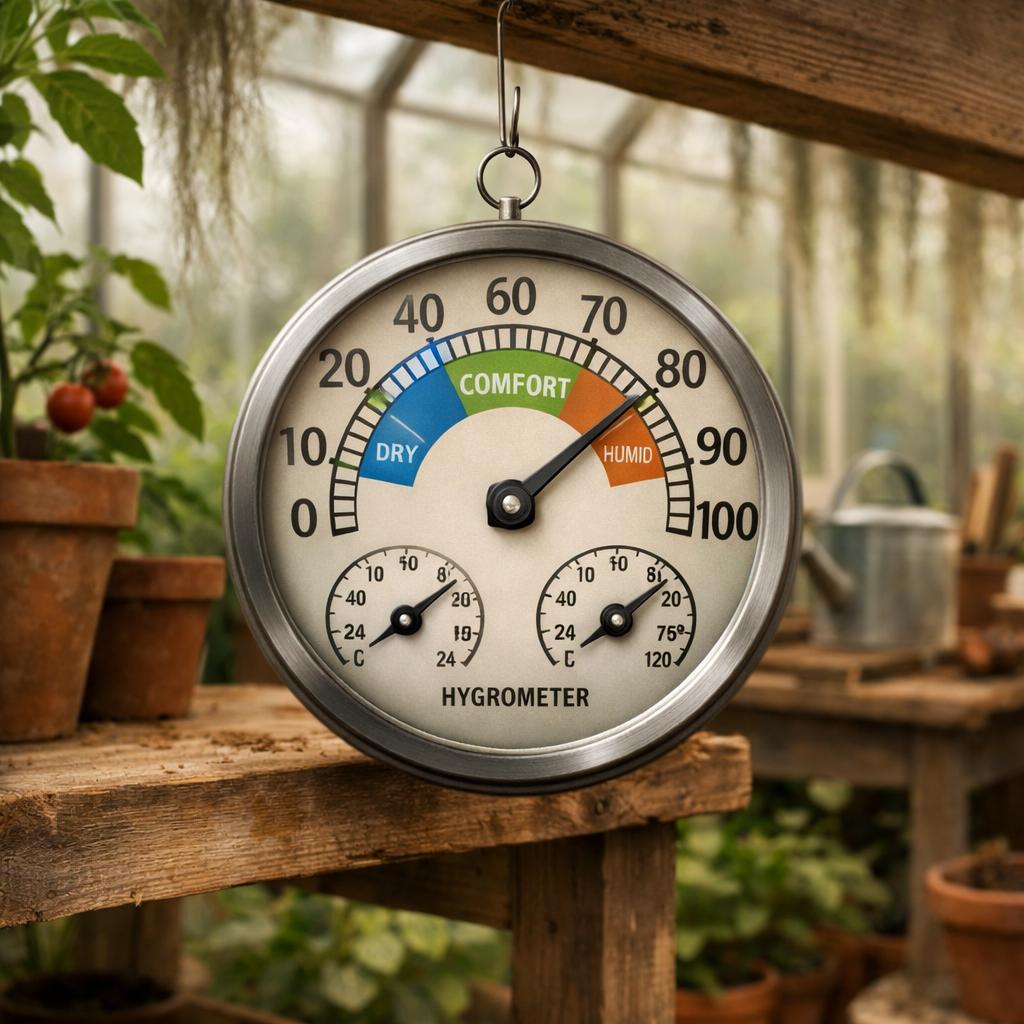
If your humidity numbers keep drifting, spiking, or refusing to match what your equipment is set to inside your grow tent, the problem is rarely the air itself. It is almost always a measurement issue. Grow tent environments create microclimates, airflow dead zones, and pressure differences that expose weak sensor placement and poor calibration fast.
I see this constantly in grow tents where everything looks correct on paper. The exhaust fan is sized properly, the humidifier is running, and the controller is set perfectly. Yet the readings fluctuate wildly. When that happens inside a grow tent, it is usually the sensor setup working against you rather than the environment failing.
The Real Reason Humidity Numbers Lie Inside Your Grow Tent
A grow tent is not a room. It is a controlled airflow chamber with forced intake, forced exhaust, reflective walls, localized lighting heat, and moving air from oscillating fans. These factors create sharp microclimate layers within a very small footprint.
Inside a grow tent, humidity is not evenly distributed from floor to ceiling. Warm air from lights rises. Fresh air gets pulled inward from intake ports. Exhaust systems create negative pressure. Circulating fans create turbulence in some areas while leaving others stagnant.
If your humidity sensor sits in one of these microclimates, your reading reflects that specific pocket of air rather than the average canopy environment.
Here are the most common mechanical reasons humidity readings lie inside a grow tent:
1. Direct Airflow Contact
If a sensor sits in the path of an oscillating fan or near an intake vent, it is measuring constantly refreshed air. That air is often drier or cooler than the canopy zone. The controller then overcompensates by adding more humidity, causing real canopy humidity to overshoot.
2. Radiant Heat from Grow Lights
Even LED fixtures create radiant warmth. If your sensor hangs too close to a grow light inside your grow tent, the localized heat lowers relative humidity at that exact position. The reading appears lower than the actual canopy conditions below it.
3. Wall Reflectivity
Reflective mylar walls inside grow tents can trap radiant warmth along the edge of the tent. Sensors clipped to tent poles or walls often read slightly warmer and slightly drier than the center canopy zone.
4. Stratification Without Realizing It
If airflow inside your grow tent is not balanced, humidity can settle in layers. The bottom third of the tent may be significantly more humid than the top. A sensor at the wrong height gives you a distorted view of what plants are actually experiencing.
Common Sensor Placement Mistakes That Skew Readings
Most inaccurate humidity readings inside a grow tent come from placement shortcuts. Grow tents are compact spaces, but placement precision matters more in small environments.
Clipped to a Tent Pole
This is the most common mistake I see. Tent poles conduct temperature from outside the grow tent and from adjacent surfaces. That slight temperature shift alters relative humidity at the sensor surface.
Fix: Suspend the sensor in free air using string or zip ties so it hangs away from poles and walls by several inches.
Too Close to a Humidifier Output
If your humidifier sits inside your grow tent and the sensor is within the mist path, your readings will spike briefly and trigger premature shutoff. The overall tent then runs drier than intended.
Fix: Place the humidifier output so mist disperses into circulating air, and position the sensor on the opposite side of the canopy.
Sitting Above or Below Canopy Level
Humidity control inside a grow tent should reflect the canopy, not the floor and not the lighting cavity.
Fix: Keep the sensor at canopy height. As plants grow, raise the sensor with them. This maintains accurate environmental tracking within the plant zone.
Too Close to Exhaust
Sensors placed near the carbon filter or exhaust fan read transitional air that is actively leaving the grow tent. That air does not represent stable canopy conditions.
Fix: Always position the sensor between intake and exhaust zones, centered in the active plant area.
How to Test and Calibrate Your Humidity Sensors the Right Way
Even perfect placement fails if your sensor is inaccurate. Many budget hygrometers inside grow tents drift over time. Calibration inside the tent without testing against a controlled reference only hides the problem.
Step 1: Perform a Salt Test
This is the simplest reliable method.
- Fill a bottle cap with table salt.
- Add a few drops of water until it becomes thick paste.
- Place the salt and the humidity sensor inside a sealed plastic bag or airtight container.
- Leave it sealed for 8 to 12 hours at room temperature.
The environment inside the container should stabilize at seventy five percent humidity. If your sensor reads seventy two percent, you have a negative three percent deviation. If it reads seventy eight percent, you have a positive three percent deviation.
Step 2: Adjust or Record Offset
If your grow tent controller allows calibration adjustment, enter the offset. If not, write the deviation clearly and mentally compensate when setting humidity targets.
Step 3: Compare Multiple Sensors
Inside a grow tent, I prefer running two independent sensors at canopy height. If they disagree by more than three percent after calibration, something is still wrong. Either one unit is failing or airflow is inconsistent at that position.
This dual reading method exposes airflow imbalance inside grow tents quickly.
A Simple Placement and Verification Routine for Steady Long Term Control
Reliable humidity control inside a grow tent comes from consistency and verification. Here is the routine I follow.
Placement Checklist
- Hang the sensor at canopy height in free air.
- Keep it at least six inches away from tent walls and poles.
- Ensure it is not directly in front of intake, exhaust, or fan output.
- Keep it out of direct light radiation.
- Place humidifier output so mist mixes before reaching the sensor.
Airflow Verification
After placement, run your grow tent with lights on and all equipment active for thirty minutes.
Observe humidity swings. If the reading jumps rapidly every time the fan oscillates past the sensor, airflow is too direct. Reposition slightly until readings stabilize and adjust gradually rather than abruptly.
Controller Reaction Test
Lower your humidity set point by five percent temporarily. Watch how quickly the grow tent responds. A stable system should adjust gradually and plateau without oscillating wildly above and below target.
If you see overshooting and constant cycling, sensor placement or exhaust balance is still incorrect.
Troubleshooting Inside Your Grow Tent
Why does humidity rise at night even when my settings do not change
When grow lights turn off inside a grow tent, temperature drops quickly. Relative humidity rises even if absolute moisture stays constant. If your sensor is too close to a wall or near slower airflow zones, this spike appears exaggerated. Improve air circulation across the canopy and verify sensor position first before changing equipment.
Why do two sensors inside my grow tent show different numbers
Either at least one sensor is out of calibration or you have uneven airflow. Calibrate both using the salt test. If they still disagree inside the tent, move them side by side at canopy height. If they match when placed together but separate when spaced apart, airflow distribution is uneven.
Why does my controller keep turning the humidifier on and off
This short cycling usually means the sensor is too close to mist output or fresh intake air. Relocate the sensor to a stable mixed air zone in the center of the grow tent.
Humidity control inside grow tents is only as reliable as the data feeding your controller. When you treat sensor placement and calibration as part of the environmental system rather than an afterthought, the grow tent becomes predictable. Stable numbers come from stable measurement. Once the readings are trustworthy, every other environmental adjustment becomes easier and more precise.


